On macOS, select a Markdown file in Finder and press the Spacebar — MarkNode shows a fully formatted preview right there, with headings, tables, checklists, footnotes, syntax-highlighted code, typeset math, and rendered diagrams, instead of raw # and * characters. You don’t need to open MarkNode itself; the preview appears the moment you press Space.
This works for .md, .markdown, .mdown, and .mkd files, from Finder’s Spacebar shortcut, the Gallery view preview panel, and anywhere else on the system that shows Quick Look previews.
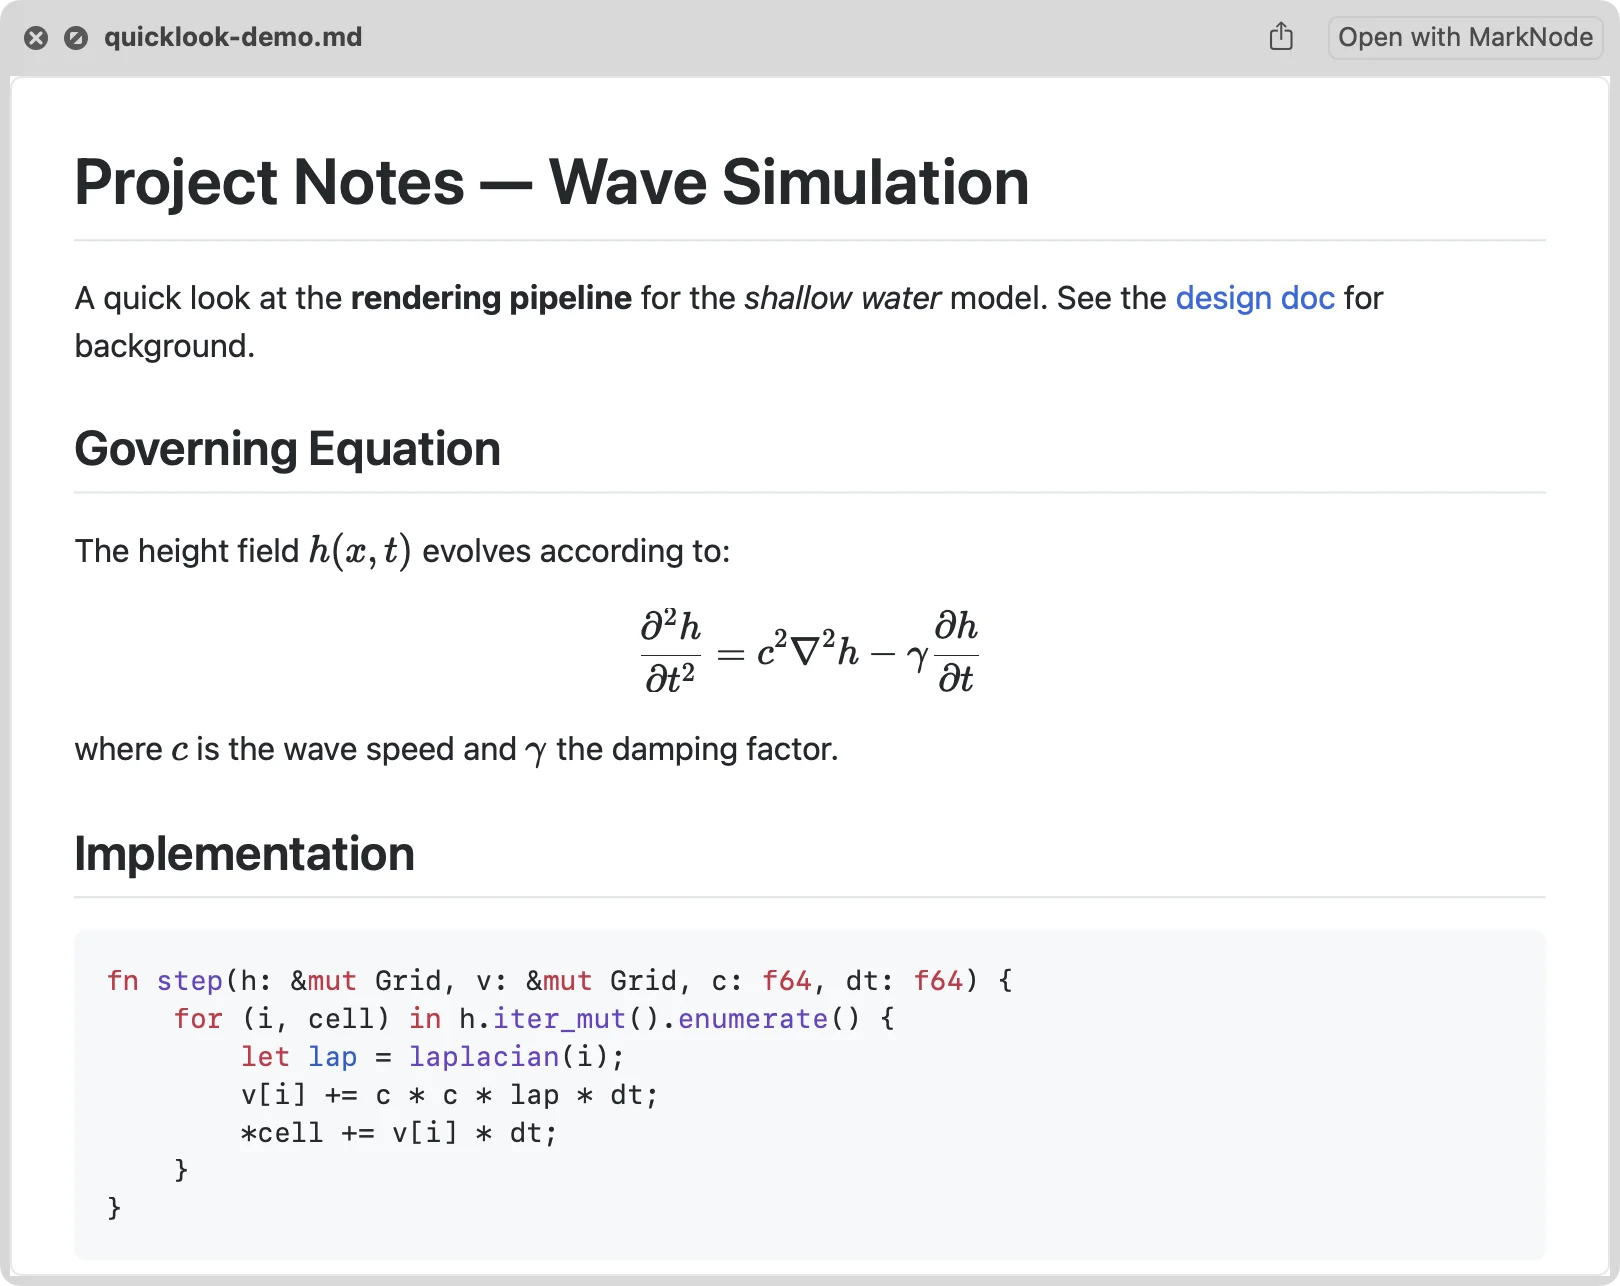
Light and Dark Appearance
The preview automatically matches your Mac’s system appearance — light or dark — so it looks at home next to the rest of Finder.
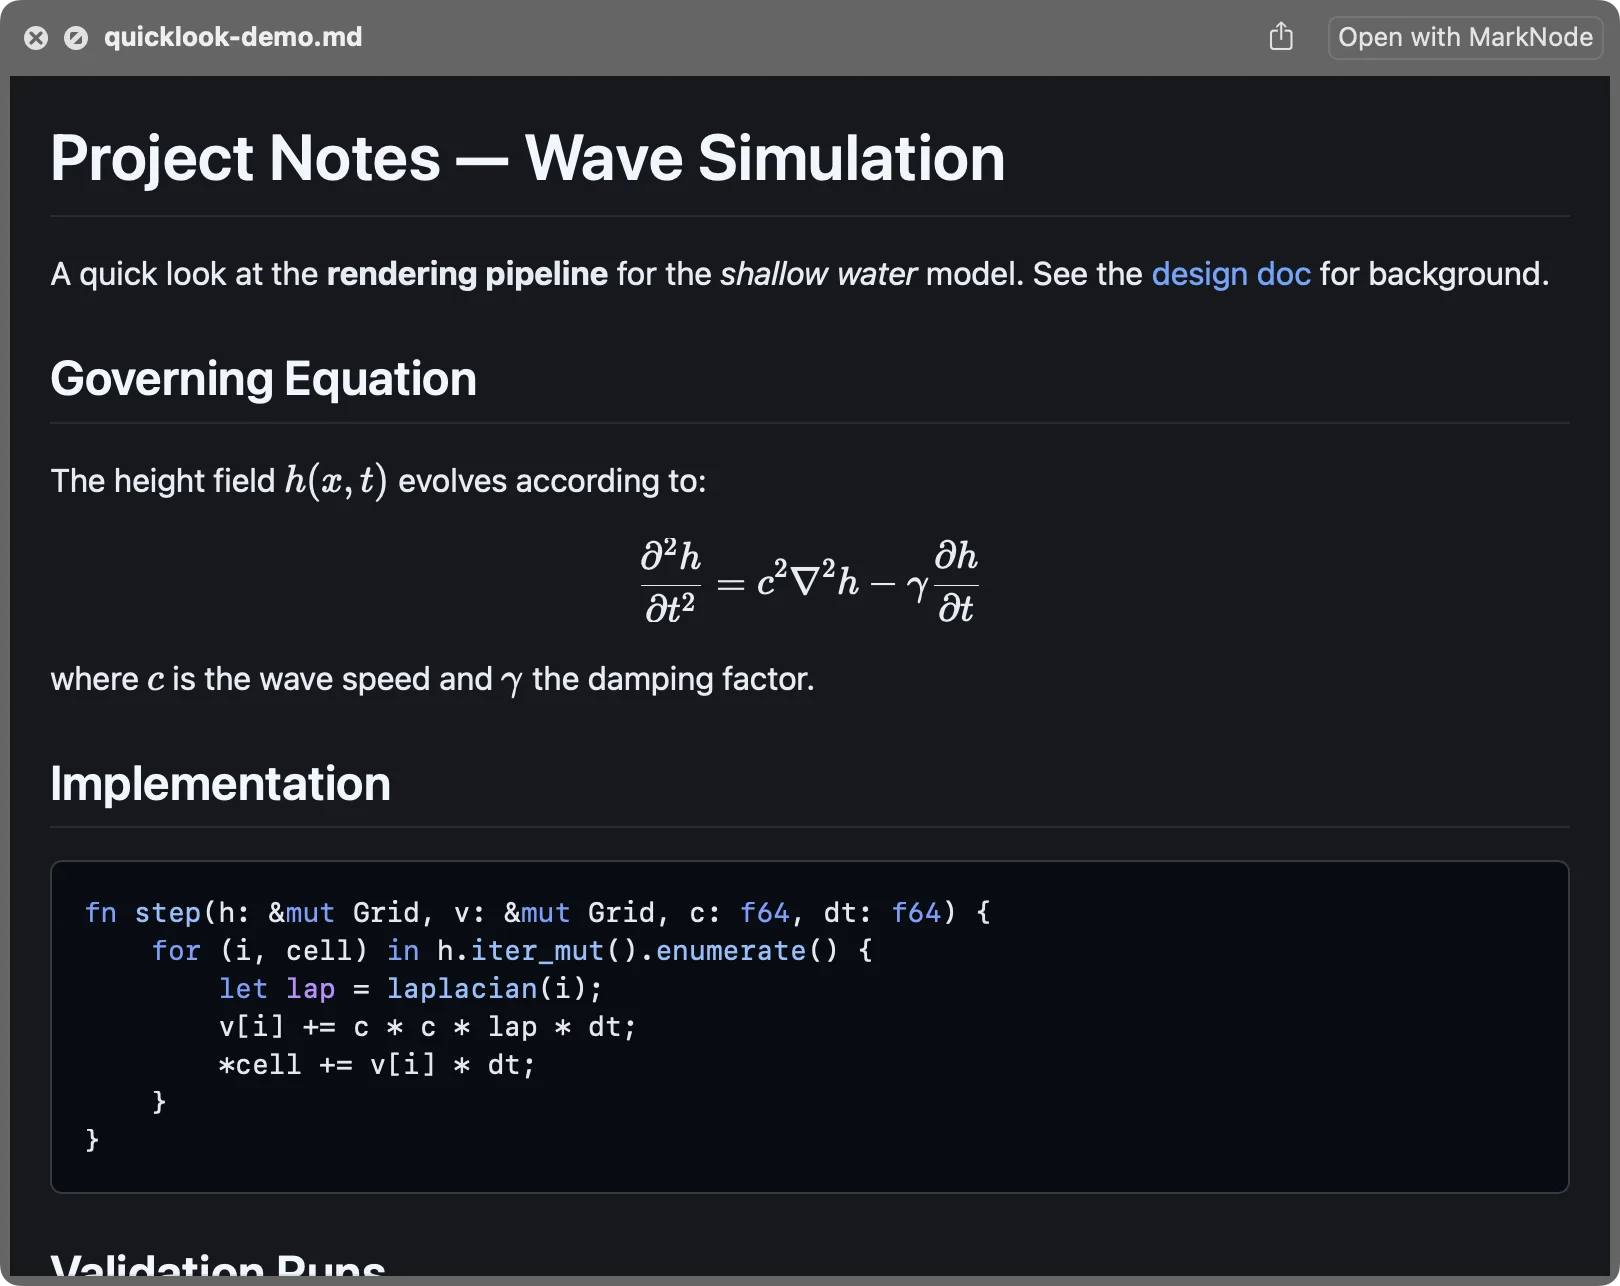
Turning It On
Once MarkNode is installed and you’ve opened it at least once, Quick Look previews usually start working right away.
If you press Space on a Markdown file and still see raw text instead of a rendered preview, open System Settings > General > Login Items & Extensions > Quick Look and make sure MarkNode’s preview extension is turned on.
Good to Know
- Very large files — for a large document, the preview shows the beginning of the file along with a notice that it’s been shortened, rather than trying to render the whole thing.
- Diagrams — a
mermaidcode block renders as a themed diagram in Quick Look, matching the in-app preview. If the diagram’s syntax is invalid, Quick Look falls back to showing the original code block. - Older macOS versions — rendered previews require macOS 11 or later. On earlier versions of macOS, Finder shows the standard text preview for Markdown files instead.
Quick Look previews are included for every MarkNode user, in both the Mac App Store and direct-download versions, with no sign-in or extra setup required beyond turning on the extension above.